

THE GREAT WAR
Command & Colours
After my successful venture into the clouds and, for me, the less familiar realm of aerial warfare with Phantom Leader, this next game brings me back to a period which I am much more versed in, namely WWI. Not so many years ago in terms of board games, the period was still comparatively unrepresented and, though Ted Raicer's ground breaking Paths of Glory in 1999 stimulated the interest of designers and gamers alike, the period of The great War remains very much the poor relation in comparison with the Napoleonic Wars, the American Civil War and WWII.
When it has been gamed, the level has been predominantly strategic or operational, with only a rare few treating the tactical sphere. Step in the doyen of tactical systems, Command & Colours, created by Richard Borg [and there's a system I am totally at home with]. First I marched with Lee & Grant on the ACW battlefields in the original BattleCry and its more recent excellent remake and upgrade. Then came Memoir 44 and here I fought from the hell of Stalingrad and the burning sands of North Africa to Normandy and beyond with add-on after add-on, including the immense 9 maps of the Normandy beaches and the paratroop landing sites. Most recently Samurai Battles took me to the exotic conflicts of Japan, perhaps best known from the films of Kurosawa.
When it has been gamed, the level has been predominantly strategic or operational, with only a rare few treating the tactical sphere. Step in the doyen of tactical systems, Command & Colours, created by Richard Borg [and there's a system I am totally at home with]. First I marched with Lee & Grant on the ACW battlefields in the original BattleCry and its more recent excellent remake and upgrade. Then came Memoir 44 and here I fought from the hell of Stalingrad and the burning sands of North Africa to Normandy and beyond with add-on after add-on, including the immense 9 maps of the Normandy beaches and the paratroop landing sites. Most recently Samurai Battles took me to the exotic conflicts of Japan, perhaps best known from the films of Kurosawa.
While stepping out with the many plastic soldiers of these games, I was equally involved with marshalling the wooden blocks for the GMT treatment of the same system. I began with Romans & Carthaginians and quickly acquired the first expansion Greece & Eastern Kingdoms, if only to follow in the footsteps of Alexander the Great. I've fought the Barbarians and the Civil Wars of Caesar and Pompey. This time I wasn't quite so all-embracing in my need to own everything - and so never acquired the Imperial Romans or Spartans.
Then the Napoleonic Wars beckoned and the drum and fife led me over the hills and far away to Spain in the first expansion and later to Russia and Austria, though not yet to the Prussian expansion and more recent additions. Once again poor old WWI lagged behind, but eventually in 2015, there arrived The Great War.

What a furore that stirred up! There have been many complaints about this and the quality of the figures and I must admit that, despite care and the use of the appropriate clippers, a few of my figures did end up sporting what look more like shotguns than rifles with bayonets. If you aren't familiar with using the right tools then the number of shortened guns may rise, but comments indicating the loss of all or part of a limb suggest to me that totally the wrong sort of cutting tool has been pressed into service! In particular, I wouldn't recommend any sort of knife, however sharp. Once set up, it has been hard for me to spot any of my slightly shortened rifles.

Here you should be able to notice, but later on the map I think you'll find it more difficult.
The other feature is that the machine gun figures do need assembling and gluing - again a very minor job that took little time and effort, though I'd suggest using tweezers to hold one part as you glue it to another [there are only three separate bits!] Once put together they look very effective, though storing them separately is to be recommended both for ease of finding and to avoid any damage.
Having said that, if you are at all familiar with Zvesda plastic figures which were used in Samurai Battles which really do need tricky assembly and have very fine and easily broken weapons, these PSG figures are sturdy and moulded as a single unit, except for the machine gunners. A single storage box contains all my models, allowing the three sets of four figures that make up each machine gun unit and mortar unit to be kept separate from the bulk of the infantry and so very easy to identify for set up purposes.

A final point about these models is the variety of poses; unlike Memoir 44's identical infantry, there is a good range of different stances, as well as the special Bomber figure [an infantry man throwing a hand grenade] that acts like markers do in some of the other C&C games to identify a special unit.

A gloriously well-filled box!
From plastic we move to cardboard. The double-sided board is excellent. First of all the title The Great War is discreetly placed at each opposing edge and not splashed across the centre of the board in large letters, as the word ANCIENTS was! Secondly, one side is a strong green and the other an all too appropriate brown that conveys those deadly muddy landscapes. It is also deeper than the typical C&C board with 12 hexes by 11 hexes, making for an almost square board, but divided as is essential by the familiar dotted lines into the usual three sections: Left Flank, Centre and Right Flank.
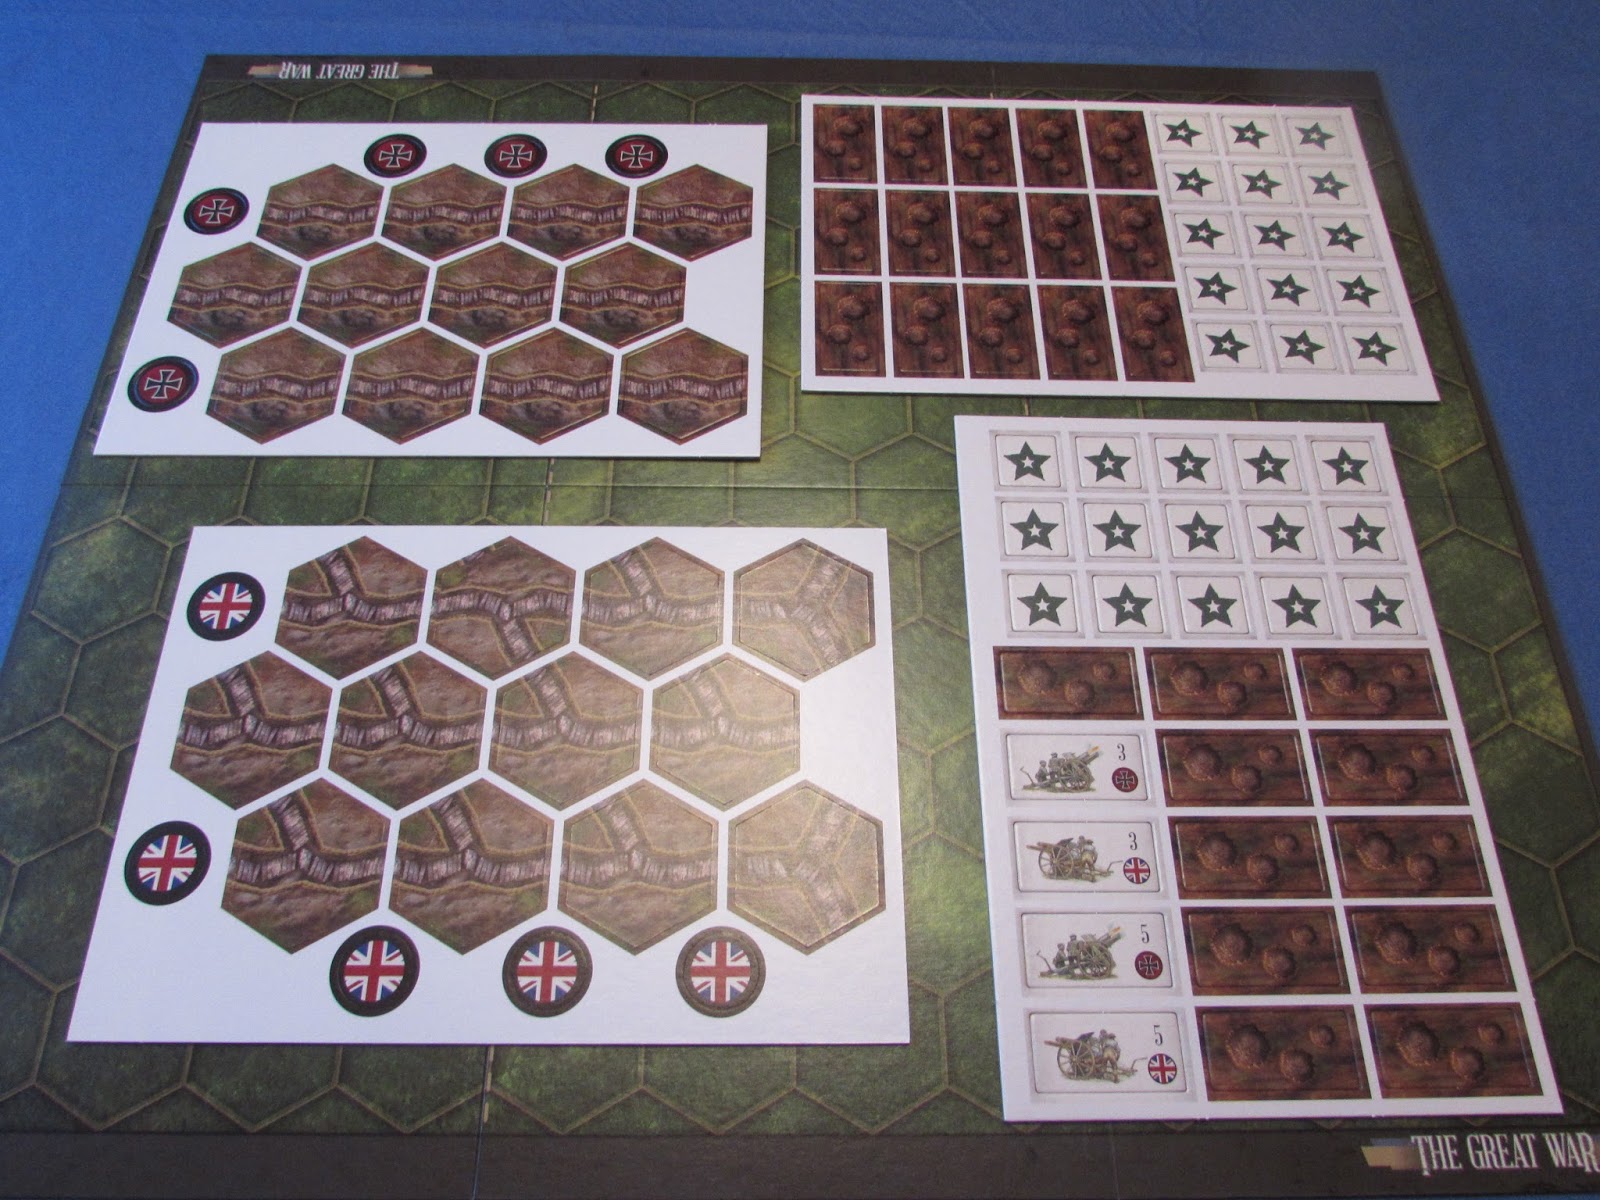
Additional terrain pieces are more limited in variety than usual with a few building hexes, eight hill and nine forest hex overlays and then a plethora of trench hexes that you will certainly be placing a good number of in all scenarios. Added to these are oblong pieces that have wire on one side and shell craters on the other. Most scenarios begin with a preliminary round that will turn quite a number of hexes in the No-Man's-Land between the two armies into such shell holes. All are of very thick, strong card and my single wish is that the wire/crater terrain had also been hex-shaped, as inevitably the four figures that make up each infantry unit tend to be slightly more difficult to move onto the oblong pieces and also tend to fall off the edges.
With all my C&C games, I prefer to lay a sheet of plexi-glass on top of the board once terrain tiles have been set up to avoid them shifting during the game play. With The Great War, I'd very strongly recommend this practice or you will almost certainly find your trench lines regularly shifting and needing readjusting unless you have a very light and dexterous touch. [Stop muttering that I must have ten thumbs!] Added to that, the overlays for wire and the inevitable craters then sit comfortably on top of the plexi-glass, as seen below - hence the slightly blurred effect from the reflection.

Scenario 4 Loos
The British Advance on the Hohenzollern redoubt
Above you can see a small section of what is a typical lay-out. As a brief aside, before I continue with the description of the contents of the game. That image of a solid line of British infantry advancing on a thinly held sector is very deceptive. It is one you will repeatedly see in most of the scenarios, but what happened in this particular game in question is also one you will encounter frequently. Some of those units will make it to the enemy trenches. The ones that do will have taken losses and several won't get there at all. Those two German units plus one of those hurrying from the back lines actually held on until the end of the game!

Victory Medals - round not square!
As always there are packs of essential cards. In this case, a Command deck and a Combat deck. the former will be familiar to anyone who has played any other C&C game. The Command deck is the engine that drives the whole game, containing the standard Section cards that designate how many units and in which section[s] they can be activated. and the Tactics cards that allow for special circumstances, such as a number of units in adjacent/linked hexes to be activated, imitating the card that your opponent has just played or the rare replacement card that allows you to gain back a soldier or two.
However, the Combat deck introduces a new element that I think is essential to the successful simulation of this war. You are allowed a maximum of five Combat cards in your hand and each scenario will determine how many you start with and the basic rules explain how you gain more during the course of the game. A single Combat card may be played in each Player turn, most often in conjunction with your Command card.
Most of all, these Combat cards add so much to the feel of the game, as just a few titles will show: Butt & Bayonet, Gas Attack and Trench Raid. But none could be more evocative of those early jerky film footages we have once more become so familiar with this year or the last few moments of Blackadder Goes Forth than the card Advance Over The Top.

Even the rather sombre colouring of the cards both back and front with the slightly faded sepia images and small, thin lettering play their part in getting the atmosphere right.
The key twist to using these cards is that generally you have to pay for the cost of playing a card with HQ tokens and, like any good innovative rule, it presents tense decisions, as HQ tokens are also the essential element to calling in Reserve Artillery. Which is the most pressing need at the moment? Pay for a Combat card to hopefully tip the balance at a crucial moment or pay one HQ token per artillery die and it's rarely worth rolling less than 3 dice for artillery? Such difficult choices are a prime element for me in most successful games.

The new and significant HQ counters
What else is new?
To be expected is the machine gun unit, already mentioned in connection with assembling figures. What was unexpected was that its range is only one hex more than that of an ordinary infantryman! But, fire two machine guns at the same target and you add the dice together, a simple and effective way of achieving the benefit of cross-fire.
Perhaps, even more unexpected is the lack of on-board artillery units [though there are still a few mortar units]. Instead, the Reserve Artillery is an off-board token with a designated maximum fire power for the scenario and, as explained, each point of power equals one die and has to be paid for with an HQ token. Another clever feature is the accompanying artillery template, a satisfyingly chunky piece, the size of a map board hex.

Off-board Reserve Artillery Tokens
and Artillery templates
However, those hits do not mean automatic kills. You still need to roll the ordinary Combat dice for each hit to see what the shelling has achieved. Obviously some will have fallen into empty hexes and it's just possible that the Combat dice aren't smiling on you today either. But, be warned: close your infantry units up for the Push and you can guarantee that those artillery shells will come raining down on their plastic heads!
On to those same Combat dice - something old, something new here:

New: a Burst symbol [looks like an explosion] immediately kills a figure, a Skull symbol only kills in certain circumstances and a Star symbol earns you one of those crucial HQ tokens.
Victory remains the same as in all C&C games: each Scenario tells you how many Victory medals win the game and the first to reach that number is the immediate winner. Each unit killed earns you a Victory medal and many Scenarios award them for taking and holding geographical objectives as well.
Inevitably, for a set of scenarios that focus entirely on trench warfare, one side is always going to have more units and be on the attack while the other has fewer and is on the defence. What then stops the player on the attack from sitting back and pounding the enemy with his Reserve Artillery power, until a portion of the line is weak enough to be assaulted?
The Great War has taken the decision to force the pace by allowing the Defender [in 13 Scenarios, the Germans and in only one Scenario, the British!] to play a Reconnaissance card and instead of the normal ability to take two cards and choose one, the player can simply take the normal single replacement card and a Victory medal as well.
This I accepted and adapted to fairly quickly, but my friend and opponent in all things wargaming was far less sanguine about the rule and felt it was an artificial solution. So far, I haven't encountered any complaints on the main internet sites I frequent, such as Consimworld or Boardgamegeek.
Of more concern to me has been the similarity of the Scenarios, as indicated above. As yet, I haven't tired of playing what are very similar situations, because they've all provided tense situations with a very effective feel of the WWI trenches and, of course, there is the expansion that provides TANKS!!!!
But, in discussing the Scenarios, I'm rushing on rather to the last part of the rule book. In total, cover to cover, it runs to 52 pages of A4 and is a handsome, glossy production. But, don't be worried by the length. 18 pages cover the 16 scenarios and another 10 explain terrain, Command cards, Tactic cards and Combat cards - all with a great deal of elegant white space! 4 pages describe the components and 2 the Set-Up. In all, a mere 10 pages cover the rules themselves, with an additional 5 focusing on all the new elements.
Initially, I found it slightly more difficult to grasp everything and the first game did involve quite a lot of checking and referring back to the rules. In part, I think that was as much due to the extensive knowledge I have of so many other C&C games getting in the way of mastering the new ideas. After a few sessions, I soon found that The Great War is easier to play and remember than virtually any of my other many C&C games, with rarely any need to turn to the rule book.
Having hesitated from buying the game, because I wondered whether I really did need another C&C game, I can safely say that I'm glad my craving for just one more got the better of me. Add it to your collection too. I don't think you'll be disappointed.


Follow Us