

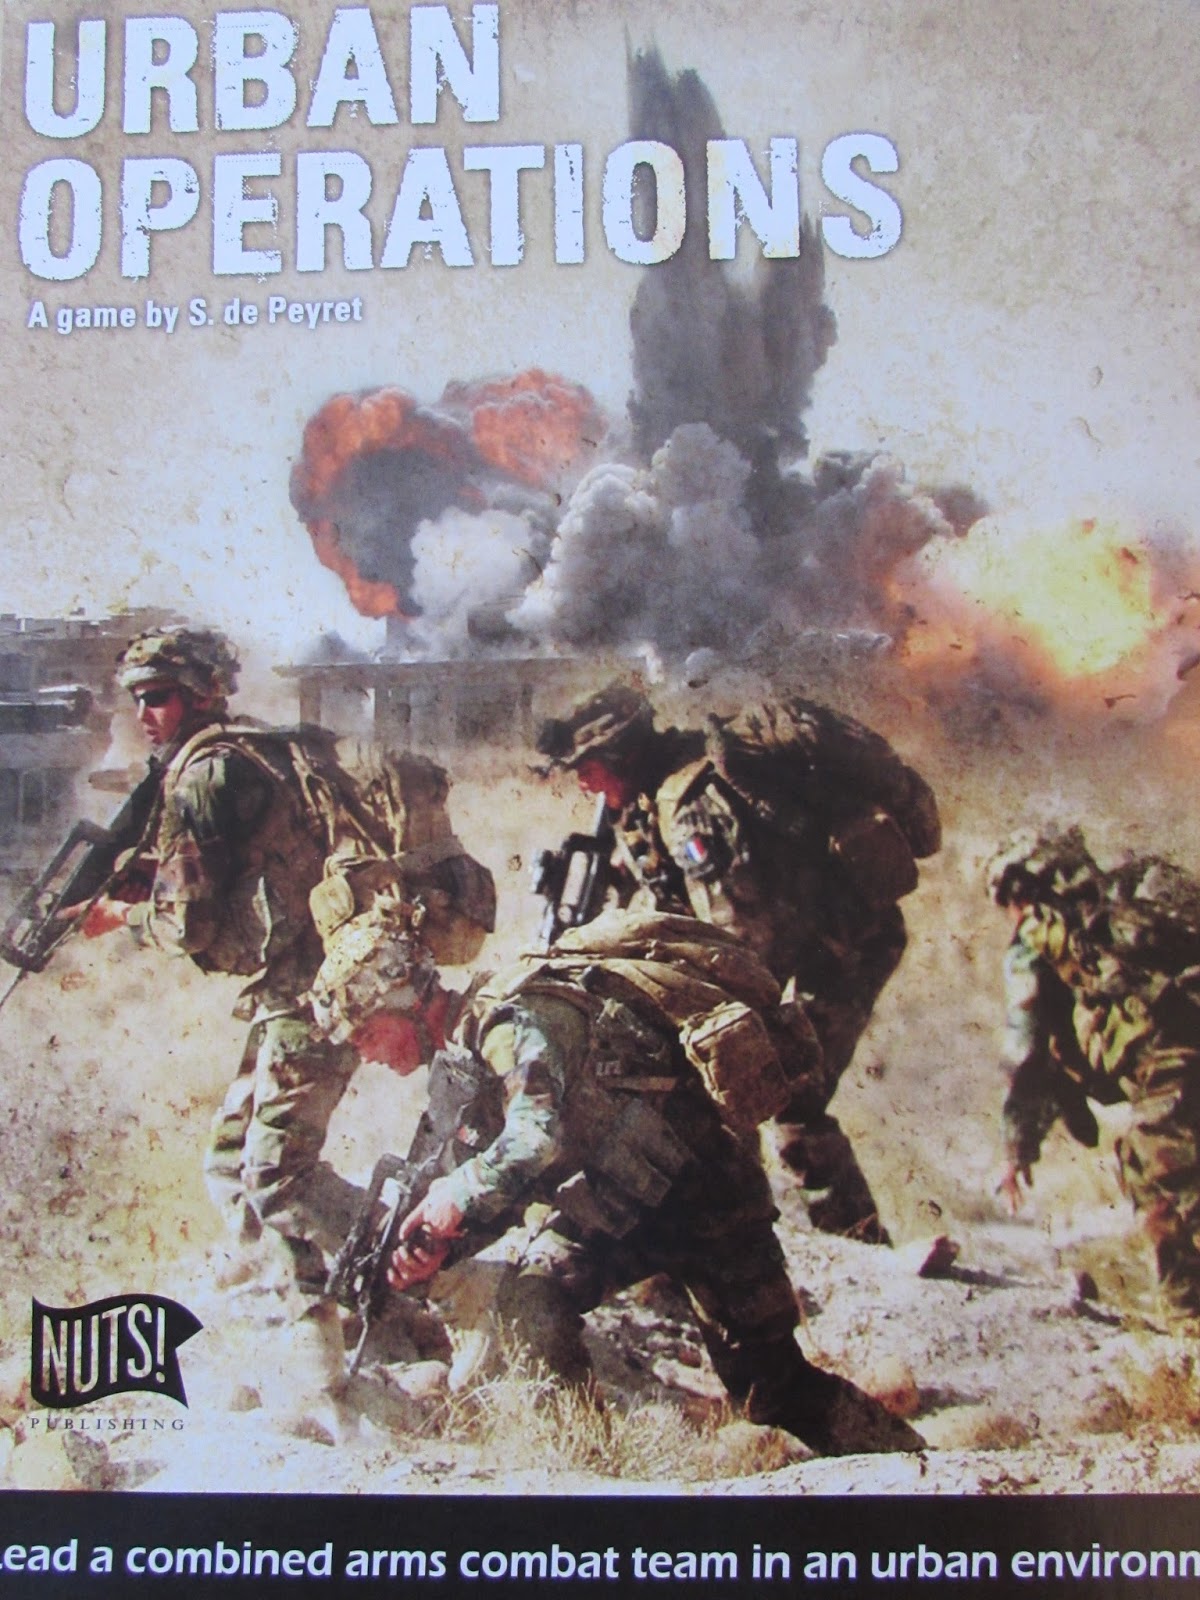
URBAN OPERATIONS
from
Nuts Publishing
Tactical level modern urban warfare! This is not the first foray in to this territory by the designer, Sebastien de Peyret. The first was notable for being a solitaire offering. A Week In Hell: The Battle of Hue [2010] was the game in the second issue of Battles magazine, a magazine noted for its in-depth quality reviews. Though the insert games have varied in their success, for me A Week In Hell was one of the real successes both in its system and its graphics quality.
Nor is Urban Operations Nuts Publishing's first modern tactical urban game either, as a year after A Week In Hell appeared, Phantom Fury [2011] came on the scene. This fully fledged boxed production which brought us forward to the battle of Fallujah in November 2004 shone again for its quality art and, I believe, another fascinating system for examining modern tactical warfare. I say believe, because, unfortunately, I failed to secure a copy while it was still in print, but all that I've read and watched since about the game convince me that it should have been in my collection.
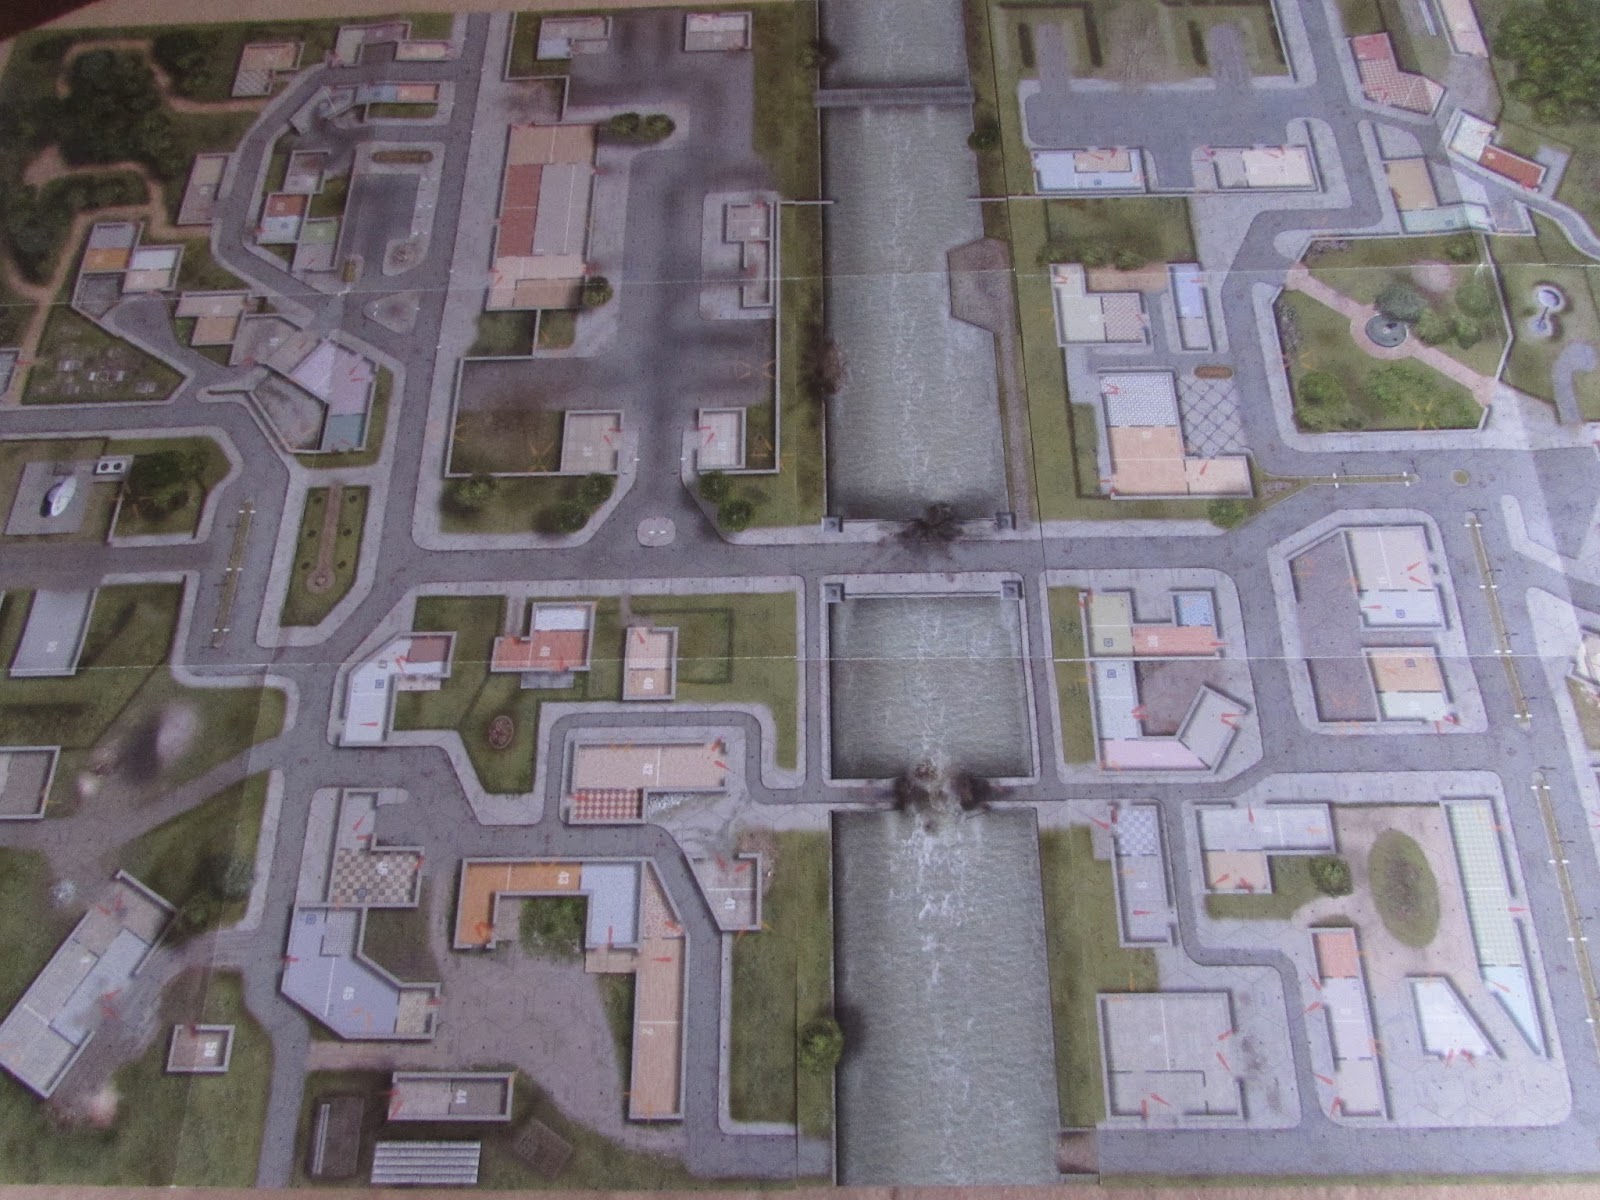
So, what does Urban Operations hold in store. Well, first of all, this new game designed by Sebastien de Peyret is simply overwhelmingly impressive in quality and quantity. For the company, the leap from Phantom Fury to this is indeed a quantum one. From a very attractive, but folio sized map, typical cardboard units and markers, one player aid and one rule book to ... 2 full size [72cm x 54cm] double-sided maps, with a slim river map [72cm x13cm] to join the maps together for some scenarios, a small map with a series of bunker tunnels on one side and a sewer system on the other. Innovative terrain elements integrate familiar hex movement with irregular shaped interiors of buildings, roof tops and the ability in some cases to leap from one to the next. All giving the appearance of looking down from on high at this 3D seeming panorama spread below ...
... wooden blocks and stickers to produce 156 units for the sort of fog of war familiar in so many Columbia games. The components list for the game indicates 160 blocks. My copy contained exactly 156 blocks, so no spares. I know many companies like to add in a few extra blocks in case of irregularities in production. All I can say is that every single block was in perfect shape, so no problems.
In addition, there are also four wooden cylinders for use on the map, so perhaps that's where the figure of 160 comes from.

The adhesive sheets of stickers for your blocks

... decks of cards [144 in all] that are some of the best I've seen. These range from cards for Event play in specific scenarios to the essential unit stats cards.

A typical unit stats card
... three Scenario booklets, one for Fulda 1985 [how that takes me back to early SPI days], one for Mogadishu and one for 4 battles scattered across the globe and modern history from Chechyna to where but Fallujah! In all 16 scenarios and two of the booklets allow Campaign games to be played out linking scenarios together.

... linked to the Scenarios are 16 double-sided Scenario displays which give you all the set-up details and reinforcements for your troops, including a picture of each block and the Impulse Force that it belongs to. An excellent touch is that when your infantry mount vehicles, you simply take the relevant infantry block from the map and place it on the depiction of the transport block on your display card. Safe to say that like every other item in this game, the layout, use of colour and graphical quality is excellent.

The Scenario Display card for the opening scenario in the Mogadishu booklet.
... and as always a magnificent rule book. It's a weighty 36 pages, plus 4 pages entitled "Urban Operations in a Nutshell". The fact that this summary takes up four pages is a significant fact. Store that detail away for future reference.
So, far every item and aspect of this product was a stunning revelation. On the physical side only the box containing the game could benefit from one thing - greater solidity. Visually, like all else, it looks highly attractive and very similar -slightly shallower - to the boxes for the Command & Colours series, but it lacks their all important thickness and rigidity for coping with a substantial weight of wooden blocks.
Be warned, a hand on each side of the box, preferably with fingers supporting under the box are advisable. Do not try to pick it up single-handle by one corner and definitely DO Not store heavy games on top of the box. All with have a rapidly down-hill deleterious effect. You have been warned.
So far, I have nothing but admiration and praise for this game. It looks fantastic and offers a stunning array of contents. Now comes crunch time and the rule book. Visually, it mirrors all that has gone before. It's rich, resplendent and full of depth and detail. BUT and it is a big but! The guide on the box rates this at three and a half out of ten. In other words low complexity to very light medium at the most. The implication is light easily understood rules and fairly simple game play. From my own experience, a rating of eight would seem or more accurate assessment and all the posts that I'm reading on the internet would seem to confirm that.
There is a depth of rules and detail that I would suggest moves this well into the high category. To be honest, personally I welcome this level of detail. Having tried Worthington's Boots On The Ground which covers virtually identical ground, I was disappointed both by the lack of depth and blandness of the game play.
First of all there is the range of units to consider from the customary infantry, tanks, armoured and un-armoured vehicles to support and logistics units. The latter two form an important chain. Support units can use the limited support [2 steps worth]carried by each platoon to help units who've lost steps in combat to recover them, while logistics units carry their own store of support that the support units can in turn go to replenish their meagre supply. All this involves manoeuvring units in to adjacency; no simple rules here for a set number of supply points that can be used at the end of each turn to build up lost steps.

An example of a unit's stats card.
Indeed, it is probably the fact that the game's units come in the form of blocks that provokes assumptions that this ought to be an easy game to play. After all, such games traditionally have only about 12 pages of rules. Apart from that, combat with blocks has always tended to mean the number of steps on a block is the number of dice to roll and hits are typically on 6 or 5 & 6 depending on type of unit firing and type of unit defending. If that's what you were expecting, you're going to have to drastically revise those expectations.
To show what I mean I'm going to look in some detail at Combat. This is one of the most complex elements in this game. The steps on the blocks [all have three steps] merely indicate the operational state of the unit. 3 steps fully operational, 2 steps operational and 1 step poorly operational! For combat you have to go to the unit type's stats card which shows the weapons that the unit possesses, the range of each weapon, the fire power at different ranges and on top of all that a wholly new concept Effect Points [hereafter abbreviated to EP] and a weapon's Area of Effect.

The T-72's stats card in its entirety

Focus for the moment on just its main armament:
the 125 mm gun
Just take a typical unit card for a Russian main battle tank the T-72 [cf. Rules of Play P9]. It has two weapons' systems: machine guns and its main 125mm gun. I'll simply use the main gun as an example. Each box indicates a range increment in Effect Points: the first box is always 1 EP [i.e. adjacency, the second box is 2-5 EPs and each subsequent box is 5 more EPs of range]. So, the main gun fires out to a range of 20 EPS with, you'll notice, a strength of 8 if the target is within the range 11-20. So, we've located our target, it's in LOS and falls in the correct range. Next the target block may do one of three things [a] withdraw, compulsory under certain circumstances [b] fire back [c] have an eligible friendly unit give covering fire. If either of the last two choices are made that's when you get into using the numbers, looking up modifiers and rolling dice! Not too difficult and I like some of the details, especially the die roll by each player that determines who gets a +1 bonus, but may also produce a critical hit that can go all the way to destruction!

Use the Play Aid to help guide you through mastering Combat
However, this individual combat isn't over yet. Look back at the stats card and you'll also notice the strange red stripe symbols beneath certain range boxes. At these ranges there is residual EP - a single red stripe indicates a radius of 1 EP, two stripes indicates a radius of 2 EPs. Any blocks or Population counters that lie within those residual EP ranges will also be affected and to find what that effect may be you'll need to look up a separate chart on P24 of the rule book. A series of symbols will tell you the type of unit that can be affected and the colour of the symbol will tell you whether it is only friendly blocks that can be affected or both friendly and enemy blocks.
The final coup de grace for some might be that range isn't even counted in a simple ratio of 1 EP equals 1 hex, but needs a separate table as some terrain costs more than 1 EP to see through! But for once don't despair. All is not lost as, in reality, this table is a very simple: nearly all costs associated with walls, apertures and breaches are 2EPs, while other costs are 1EP. Similarly, the Movement Cost table is far simpler than most games that include infantry and a range of different types of vehicle.

The spread of excellent Scenario cards
I've detailed this largely because I think it will most strikingly and clearly reveal whether this game is for you. If you were expecting a block game like Columbia's EuroFront series, then I expect not. If you want something much meatier keep reading. There is a considerable amount to take in. How you approach this depends on whether you want to be totally overwhelmed or survive the experience to come through to achieve an understanding and real enjoyment.
I strongly believe that the programmed method introduced to the wargaming world many years ago in the revered Squad Leader would have greatly benefited Urban Operations. As it is, the rule book can be a daunting and intimidating prospect. Never mind the breadth of ideas, the innovative nature of many of them adds to the task. My advice is skim the rules to get an overall impression and then create your own programmed learning path. Start with a simple scenario with low unit density and only infantry [Lead The Way, the first scenario in the Mogadishu Scenario book, is perfect - its title almost seems to be ironically shouting out "Hey this is the one to get started with!"]
This will introduce you to basic movement and firing/assault, while gaining familiarity with the blend of hexes and room areas and some of the issues of LOS. This is better handled than in many games, though not without its uncertainties. However, considering the issues of dealing with buildings, rooftops, apertures and breaches, much here is clean and well dealt with. It will also introduce you to Population counters, again a relatively new element to contend with in gaming terms and how to use Support unit blocks.
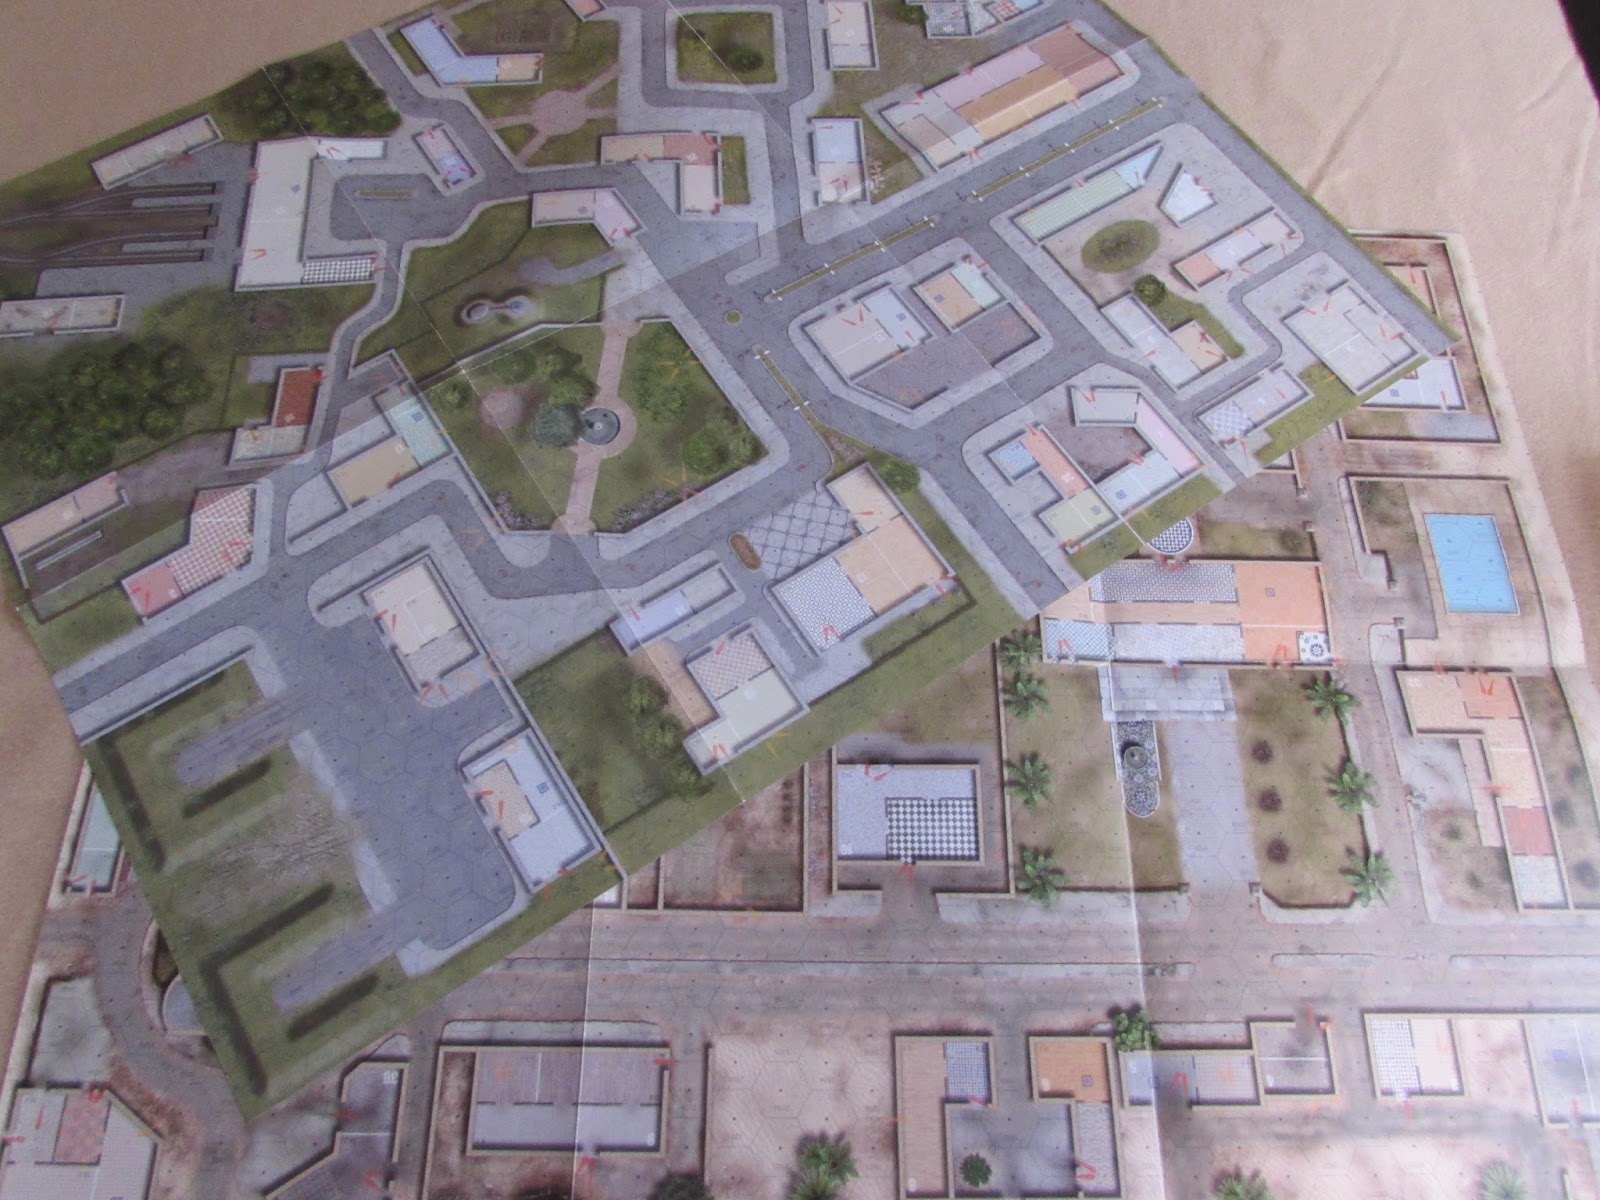
The two double-sided, full size maps -
one typical of the Western world,
the other of the Middle East
Keeping to the Scenarios in this Scenario book turns out to be a very logical step. The next Scenario, Alone In The Mog, adds nothing new and so on to Tiger Trap which primarily introduces armoured personnel carriers for your infantry and so rules on mounting and dismounting. A single Logistics block and Command Post block add a little extra.
The scenario. Cavalry, extends your knowledge by one Anti-tank block [and an Engineer block if and when you move on to playing the Campaign game]. The fourth scenario, Good Morning, Lenin, has a single Sniper and in the very last scenario, Checkpoint Pasta, we are finally confronted by two Tank blocks and a Joint Fire block.

Taken in this manner, a potentially steep learning curve starts to look a little more like starting on the nursery slopes until eventually tackling the dangers of off-piste skiing. To continue the analogy, there will be plenty of falls along the way.
My first and a totally simple, practical one illustrates my point only too well. Having neatly bagged up all my blocks, carefully labeling each bag with the relevant infantry platoon, tank platoon, escort platoon and so on, I discovered that each Scenario creates Impulse Forces [that operate together when activated] built up from units drawn from different platoons.
So, now before I play a Scenario for the first time, I record which platoon bags I have to draw units from. That way the next time the scenario is played I can quickly locate the right units and also quickly return them to the right bag at the end of the game.
However, the main spills and falls come from a lack of clarity and precision particularly where the rules are innovative. The game is already throwing up a fairly high rate of queries and uncertainties about rule meaning and interpretations. [At times, this can come down to something as simple as uncertainty about unit set up in the Scenario I've recommended to start play with.]

By all means use the questions and answers on forums like Boardgamegeek, but only when you absolutely need to. Far too many people in the gaming world seem to want to throw up endless questions when they clearly have done nothing except READ the rules and have made no attempt to play a game. Time and time again, you'll find that what appears difficult on the page starts to make sense as you play the game. Otherwise, you'll doom yourself to rules indigestion and potential abandonment of the system.
Sorry, I'll put my soap-box away, but I'm only too aware of how many people have been put off buying games in the past by too much questioning of rules in the abstract without getting down and trying to play the game.
To further round out the impression of this game, I'd also like to list just a few of the many successful aspects of Urban Operations. So, in no particular order ... An easy, more realistic and concrete handling of "supply" through Supply and Logistics units on the map needing to move into contact. Activation by platoon with a simple chain of command that affects the number of units within a platoon that may be activated. The concept of three operational levels that diminish as you take hits, along with elite, veteran and recruit status that can mitigate or intensify the effect of hits.
The explanation of LOS generally, but especially the handling of fire from apertures [mainly doors and windows] with unobtrusive map markings that avoid ambiguity . The system for mounting and dismounting from vehicles, with straightforward marking by symbols on the stats cards of a transported unit's weight and a vehicle's capacity.
The procedure for what are called 3D actions [e.g. helicopter reconnaissance, drones, mortar/artillery fire etc]which is dealt with through the use of Support cards - more interesting and visual than simple Air points, more abstract than actual units on the map, but a good comprise for an area that can be difficult [need I mention Advanced Squad Leader here!]
Finally, Combat. I know I've pointed out the complexities, but the eventual outcomes and the fact that the target has three possible options of response and the introduction of collateral damage through the idea of Weapon's Effect make it well worthwhile getting to grips with.

At last two Main Battle Tanks
Taken in this manner, a potentially steep learning curve starts to look a little more like starting on the nursery slopes until eventually tackling the dangers of off-piste skiing. To continue the analogy, there will be plenty of falls along the way.
My first and a totally simple, practical one illustrates my point only too well. Having neatly bagged up all my blocks, carefully labeling each bag with the relevant infantry platoon, tank platoon, escort platoon and so on, I discovered that each Scenario creates Impulse Forces [that operate together when activated] built up from units drawn from different platoons.
So, now before I play a Scenario for the first time, I record which platoon bags I have to draw units from. That way the next time the scenario is played I can quickly locate the right units and also quickly return them to the right bag at the end of the game.
However, the main spills and falls come from a lack of clarity and precision particularly where the rules are innovative. The game is already throwing up a fairly high rate of queries and uncertainties about rule meaning and interpretations. [At times, this can come down to something as simple as uncertainty about unit set up in the Scenario I've recommended to start play with.]

The Scenario Booklet four the four individual scenarios
By all means use the questions and answers on forums like Boardgamegeek, but only when you absolutely need to. Far too many people in the gaming world seem to want to throw up endless questions when they clearly have done nothing except READ the rules and have made no attempt to play a game. Time and time again, you'll find that what appears difficult on the page starts to make sense as you play the game. Otherwise, you'll doom yourself to rules indigestion and potential abandonment of the system.
Sorry, I'll put my soap-box away, but I'm only too aware of how many people have been put off buying games in the past by too much questioning of rules in the abstract without getting down and trying to play the game.
To further round out the impression of this game, I'd also like to list just a few of the many successful aspects of Urban Operations. So, in no particular order ... An easy, more realistic and concrete handling of "supply" through Supply and Logistics units on the map needing to move into contact. Activation by platoon with a simple chain of command that affects the number of units within a platoon that may be activated. The concept of three operational levels that diminish as you take hits, along with elite, veteran and recruit status that can mitigate or intensify the effect of hits.
The explanation of LOS generally, but especially the handling of fire from apertures [mainly doors and windows] with unobtrusive map markings that avoid ambiguity . The system for mounting and dismounting from vehicles, with straightforward marking by symbols on the stats cards of a transported unit's weight and a vehicle's capacity.
The procedure for what are called 3D actions [e.g. helicopter reconnaissance, drones, mortar/artillery fire etc]which is dealt with through the use of Support cards - more interesting and visual than simple Air points, more abstract than actual units on the map, but a good comprise for an area that can be difficult [need I mention Advanced Squad Leader here!]
Finally, Combat. I know I've pointed out the complexities, but the eventual outcomes and the fact that the target has three possible options of response and the introduction of collateral damage through the idea of Weapon's Effect make it well worthwhile getting to grips with.
So, in respect of the rules, it is not a perfect product and I'd strongly recommend it first and foremost to experienced board wargame players . Refer to the relevant section of the four pages of "Urban Operations In A Nutshell" when needed as you learn a rule to support your learning. But by going slowly and getting a firm grasp yourself, you will be able to introduce the concepts to others and, finally, the Scenario Fallujah will allow you to embrace this game solo.
Take the time, make the effort. Despite the problems I've aired, I genuinely think that this is currently the best modern tactical system for predominantly ground based urban operations. Its scope is challenging and rewarding. In my collection, a definite keeper.
Price 75 Euros


Follow Us