

Hoplite 2nd Printing
by
GMT Games


This is what GMT Games has to say about it:
This is what comes with the game:
4 full-color countersheets
3 backprinted 22"x34" mapsheets
2 Player Aid Cards
Rules booklet
Scenario booklet
Simple GBoH Player Aid
Rout Point Tracking Aid
One 10-sided die
 |
| The Phalanx Counters |
Due to the nature of Hoplite warfare, the maps have to be a bit plain and without too much contour. This is nothing against them it was just the nature of Greek Hoplite battles. The Hoplite Phalanx was even less maneuverable than the Macedonian one, or so we are led to believe. So, the maps have to show us the exact nature of the different battlefields. Indeed, six of the maps have no terrain or contours at all, but this is definitely historical. The maps that do have differences in terrain and some vegetation are nicely done. The counters are the older standard 1/2" in size, with Phalanx counters being 1"x 1/2" in size. Then there is one large counter that is 1"x 1". This represents the double-sized Theban Phalanx, with the Sacred Band included in it, that was used in the two Thebes versus Sparta battles. Because of the sheer number of battles included the hex and counter size we as wargamers were accustomed to are used. They are a bit busy with both a picture of the leader or troop type along with all of the different values needed to play. I did need to hold them close to look at them before I memorized the different troop types etc.
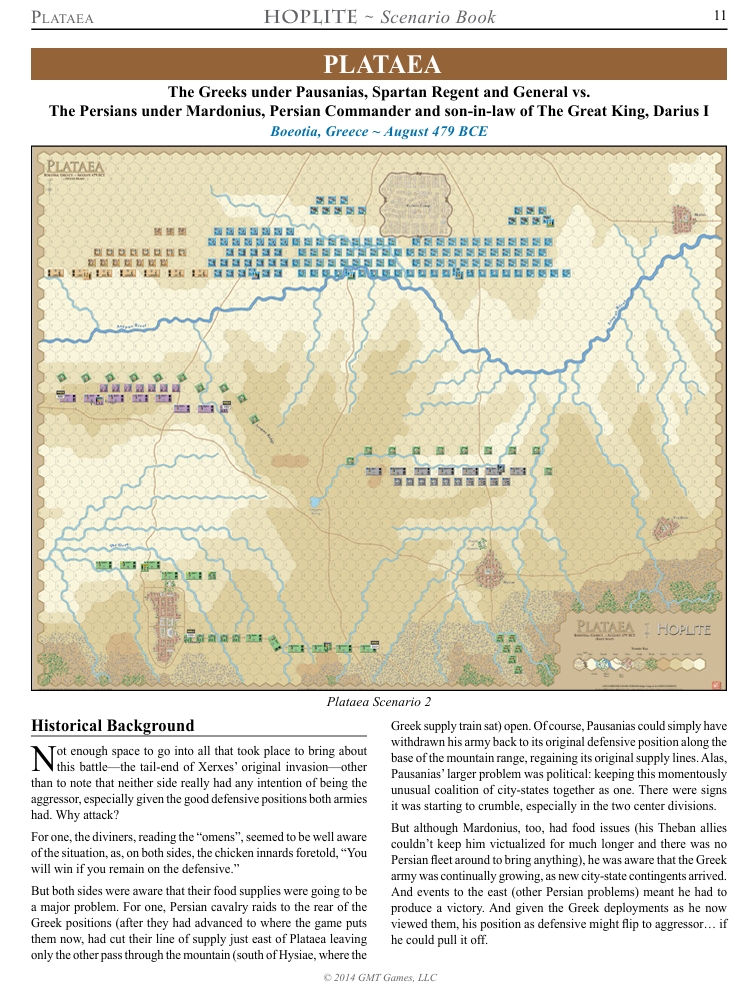
The Rules Manual is 32 pages long. It is your standard fare GMT rulebook. It is in full color and uses double-column printing. It is also chock full of examples of play. Only the normal rules for the game are included in this Rules Manual. You would need to have your own copy of the Simple Great Battles of History 2nd Edition rulebook to use the Simple GBoH versions of each scenario. The Scenario Book is 46 pages long. It is identical to the Rules Manual as far as looks and setup goes. Each of the 11 scenarios/battles starts with a Historical Background write-up. Then we get into the meat and potatoes of the setups and special rules for each one. They also include a 1/2 page or better map with all of the units depicted in their starting position. This really helps with the setup of each scenario. The last four pages are the Simple GBoH rules changes for the game. The Scenario Book is very well done. It is written and shown in a style to get the player up and spearing the enemy in no time.
There is a one-sided player aid that is 8 1/2" x 11" and is made of card stock. It has the Rout Points for both sides along with the turn track. There are six other player aids. These are 11" x 17"fold outs. So, each one has four separate player aid sheets. Each player aid has a twin so that both players can have their own. There are two that are used with the normal rules and one that has the Simple GBoH Charts and Tables.
All of the components together make a grand ensemble to lead even the tyro to the battlefields of Ancient Greece.
 |
| More Counters |
This is a GMT Games synopsis of the Simple GBoH rules:
"Simple GBoH is designed for players who want a faster, less die-roll-heavy version of the GBoH system, while retaining as much of the historical flavor and insight of the original rules."
 |
| The Rules Manual |
The scenarios in the game really make this game one of the best, if not the best, game of the GBoH Series to learn the ropes with. While two of them are quite large, most of the other ones are very small battles as far as counter density. The lack of any different terrain in those same battles makes it even easier. GMT Games has the complexity listed as six on the scale, and a solitaire suitability of eight on that scale. Both scales top out at ten. So, it is an in-depth game but not a game where you would have to read a doctorate thesis to learn how to play, even if you do not use the Simple GBoH rules. Yes, there are a lot of die rolls. There are also a lot of markers. However, the markers do make it a lot easier to keep track of where you are and what you are doing. One of the rules I really like is 6.22 which discusses the Advance to Combat Table to find the rate of movement of your Hoplite troops (This does not affect Spartan Hoplites because of their training and moving to music). You can start your planned move with your Hoplites to find that they have either walked, trotted, or run towards the enemy, throwing your perfectly aligned line of troops into confusion.
 |
| Rout and Turn Track |
My favorite battles to play are the two that match Sparta against Thebes several decades after the Peloponnesian War was won by Sparta. These two battles would be Leuctra and Mantinea, although Coronea is another good pick. I like playing the Spartans and try to beat Epaminondas and the Theban Sacred Band. Why? I have actually no idea at all. I just do. Both are also on the smaller side so you can play them out quicker than the larger scenarios. Time in the 21st century is not on our side. I do prefer to use the Simple GBoH rules also. Not that the full rules are bad, it is again just a time thing.
The game will teach you that your light troops (Light Infantry, Peltasts, Skirmishers, Javelinists, Archers, and Slingers) are not to be disregarded. They can help by causing casualties, cohesion hits, and possibly wound or kill an opposing leader. The cavalry, both light and heavy, are pretty much seen as the red-headed stepchild during this period of warfare in Greece and its environs. In Asia both of them came into their own. In fact, the Persians were horse lords like the Medes before them. They too can be much more useful than you might expect. True, they do not have stirrups but even before they were invented the cavalry was a major arm in Near Eastern Armies. Leaders, and their survival, are essential to your armies. The Activation and Orders parts of the game are simpler than the other GBoH games. The designers wanted to make these as simple as possible in this game. The game is won by making your opponent's army withdraw. This is accomplished by accumulating rout points against your opponent. Each scenario has a Withdrawal Level listed for each side. Once that number is reached or surpassed that army loses. Different troop types and leaders have different rout points assigned to them.
 |
| Simple GBoH Charts and Tables |
This is the 2nd Edition of Hoplite. However, other than fixing some errata this is pretty much identical to the 1st Edition. If you have any interest in the time period at all or you just want to play a great wargame and learn somethings in the process this is your game. So, put on your greaves, cuirass, helmet, and Hoplon and then pick up your spear and join me.
Thank you, GMT Games, for allowing me to review the 2nd edition of this really excellent game, from an excellent series. Take this from a man who was reading Plutarch when my first child was being born. The nurse suggested I put the book down and watch the birth.
Robert Peterson


Follow Us